This year, I decided I wanted to create several beautiful Valentine’s Day projects to share with my family (and my readers, of course). Decorations, crafts, desserts… whatever I could think up! This is a fun, rustic-looking Valentine’s Day banner that takes just minutes to create.
 Materials:
- 1 yard of burlap or similar material in a light color
- Red spray paint
- Several sheets of printer paper
- Jute twine
- Red thread
- Spray adhesive
Directions:
The first step in creating this banner is to cut all 6 pieces of burlap. I chose this shape, but you could also do triangles. I folded a regular sheet of printer paper in half, cut it along the fold, and then cut a triangle shape from the bottom that was two inches tall in the middle. Each piece is 8.5″ tall x 5.5″ wide.
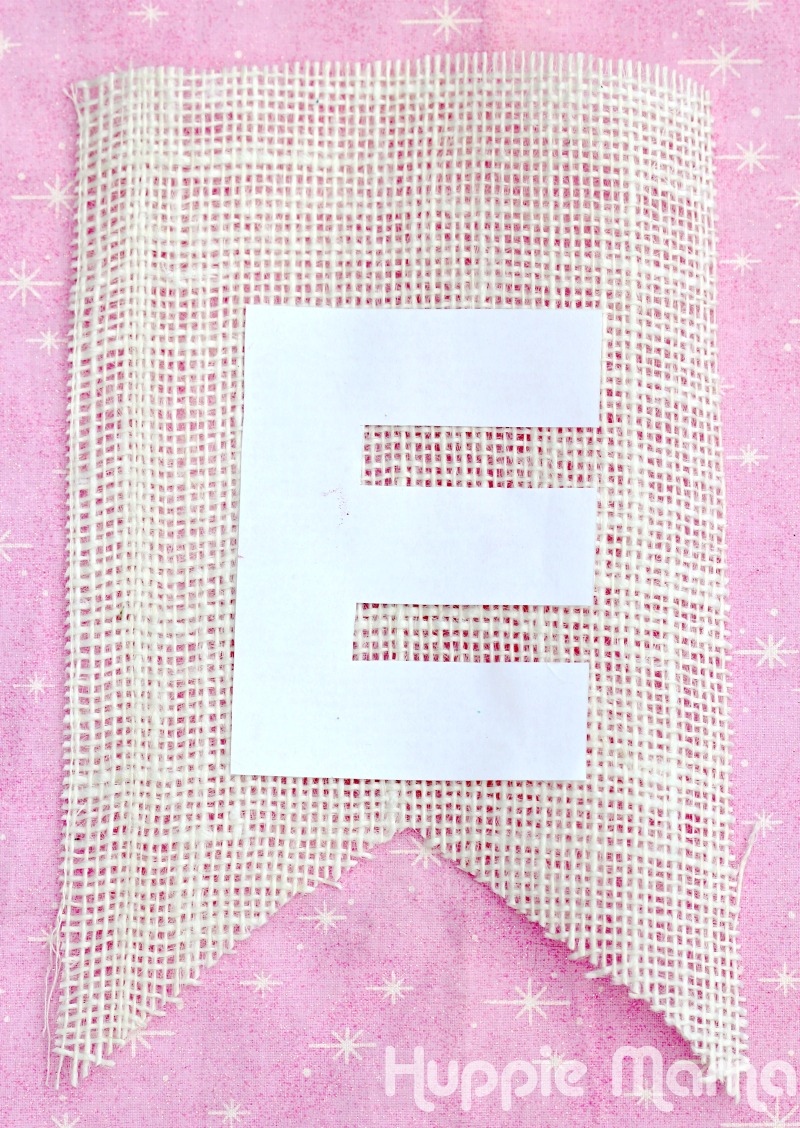
 Next, I cut large block letters to spell LOVE that were each about 4″ tall x 3″ wide. I used a ruler to make sure they were of consistent size and shape. To save time, you can also purchase stencils. Cut two hearts out as well. Using spray adhesive, temporarily glue each letter and heart to a piece of burlap. Be sure to place them toward the bottom as the top of each piece will be folded over to string as a banner.
 In a clear area outdoors, spray paint each piece of burlap red. Allow the paint to dry just a minute or two and peel each letter or heart from the burlap. This is what the pieces of your banner will look like.

Now it is time to string your banner. Flip your banner pieces to the back and lay a long piece (much longer than your banner will actually be) of the jute twine over the top. Using straight pins, fold down the top of each piece of the banner and pin in place.
 The next step is to sew along each pinned area. I used a regular straight stitch and quickly sewed along the pinned lines.

And now, your Valentine’s Day Love Banner is complete! I love the rustic country feel of this banner. It looks homemade, but in a vintage sorta way almost. It goes very well with my Kisses and Hugs Valentine’s Day Jars.

This banner would look perfect above my mantle–great way to add a pop of ‘Valentine’ to my great room 🙂